Good thing, too.
Dang, these things are more work than they look! The redeeming quality is, of course, that no matter how bad they look, they taste the same: yummy!
Either way, I started by watching Youtube tutorials, and thought surely, baking blogger Bakerella would have something to say. And she did. I watched her tutorial and thought, "That looks easy!" Well, let's just say I'm glad I started this process two days ahead of time!
First, I had to bake the cake. (Don't be silly and think I made one from scratch. no name helped me out with this part.) I baked them, let them cool, and cut them into quarters, like Bakerella said. I started by picking up two cake quarters and rubbing them together over a large mixing bowl to create crumbs.
If I had continued this way, I'd still be making cake crumbs. That did NOT work.
So I said, "Screw that," and started manhandling that cake! I broke, smooshed, tossed and stirred those cakes until they were nothing but a pile of lumpy crumbs. I thought the lumps gave it character. You know, rustic, like something Bobby Flay would do.
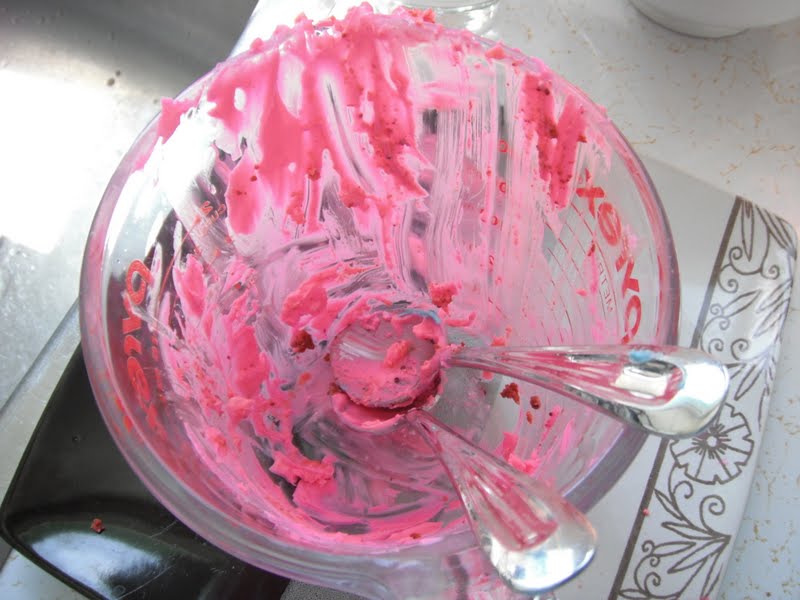
Then I had to mix in the icing (again with the no name brand). The entire container. I thought this may be too much but I was wrong, very wrong. In fact, I still have a sneaking suspicion that it wasn't enough.
I dumped it in and began to stir with a wooden spoon, as per Bakerella's tutorial, thinking it would come together evenly and quickly. And again, that did NOT work. And so, channeling my best meatloaf-making skills, I squished and mashed the icing and cake crumbs by hand like nobody's business. It felt good!
By this time, it was late at night and Wayne could barely keep his eyes open on the couch, waiting for me to finish up in the kitchen. I thought to myself, "I'll just roll them into balls now, leave them on the baking sheet in the fridge and pick up where I left off in the morning." So I pulled out my 2 Tbsp. scooper and began "rolling" cake balls.
However, each time I tried to roll the cake and icing mixture, it would break apart in my hands! Either there wasn't enough icing, or it was too hot/humid in our house to get the mixture to stick together. So I had to knead and squish each cake ball individually. After 36 scoops, this gets boring and tiring. Ugh, it was a late night. But I did it.
The next morning, my first attempt to melt the coloured chocolate wafers left me with a Pyrex measuring cup full of burnt pink discs, with a core of brown and black crust that stunk up my kitchen. FAIL. (Why did I think I could melt coloured chocolate in the microwave? I dunno!)
So out came the double boiler, and my plans for pink cake pops changed to blue ones. Ok, ok, this mistake was entirely my own and I take full responsibility for it.
The remnants of the pink chocolate.

Ewwww. It stunk.
So with the blue chocolate safely melting in a homemade double boiler on the stove, I prepped my lollipop sticks, my dipping cup, and my styrofoam block that Wayne so kindly drilled holes into for me to let the pops dry in before packaging.
I figured the cake balls would be cold enough having been in the fridge all night that I wouldn't need to freeze them for the 15 mins Bakerella suggests before inserting the sticks and dipping them. Again, I was wrong. They were still barely holding together. Into the freezer they went.
A couple of hours later, I re-melted the chocolate and took the pops out of the freezer. They were much harder and actually stayed together as I inserted the sticks and dipped them into the chocolate.

Finally, I got 20 of them dipped before running out of chocolate (the last one had to be slathered with a spatula!), and decided that would have to do. I sprinkled coloured sugar on them (which also looked very awkward and childish in its application - how do you do that evenly? Dipping them in the sugar looked silly, too.). I put them in the fridge to harden up, and then covered them with clear candy bags and wrapped the bases with blue ribbon.


If you think this post was long and boring to read, imagine being the one MAKING the bloody things! Haha. As I said, though, they taste awesome (and that's with from-the-box mix and icing!) and even though they are sloppy and kind of look like homemade gumballs on sticks, I vow to dip and wrap the remaining cake balls (which are in a Ziploc in the freezer) in my leftover purple chocolate wafers for another event so I don't waste the ingredients.
Now I just need to find an event worthy of so much time and effort. :oS
note to self ... don't make cake pops! lol ... cute in the end though! And the icing sugar dusting - maybe try doing it with a sieve or strainer with small holes?
ReplyDeleteYa good thought but it was regular-sized sugar. :(
ReplyDeleteThey look so cute and tasty.
ReplyDelete